Skip to content
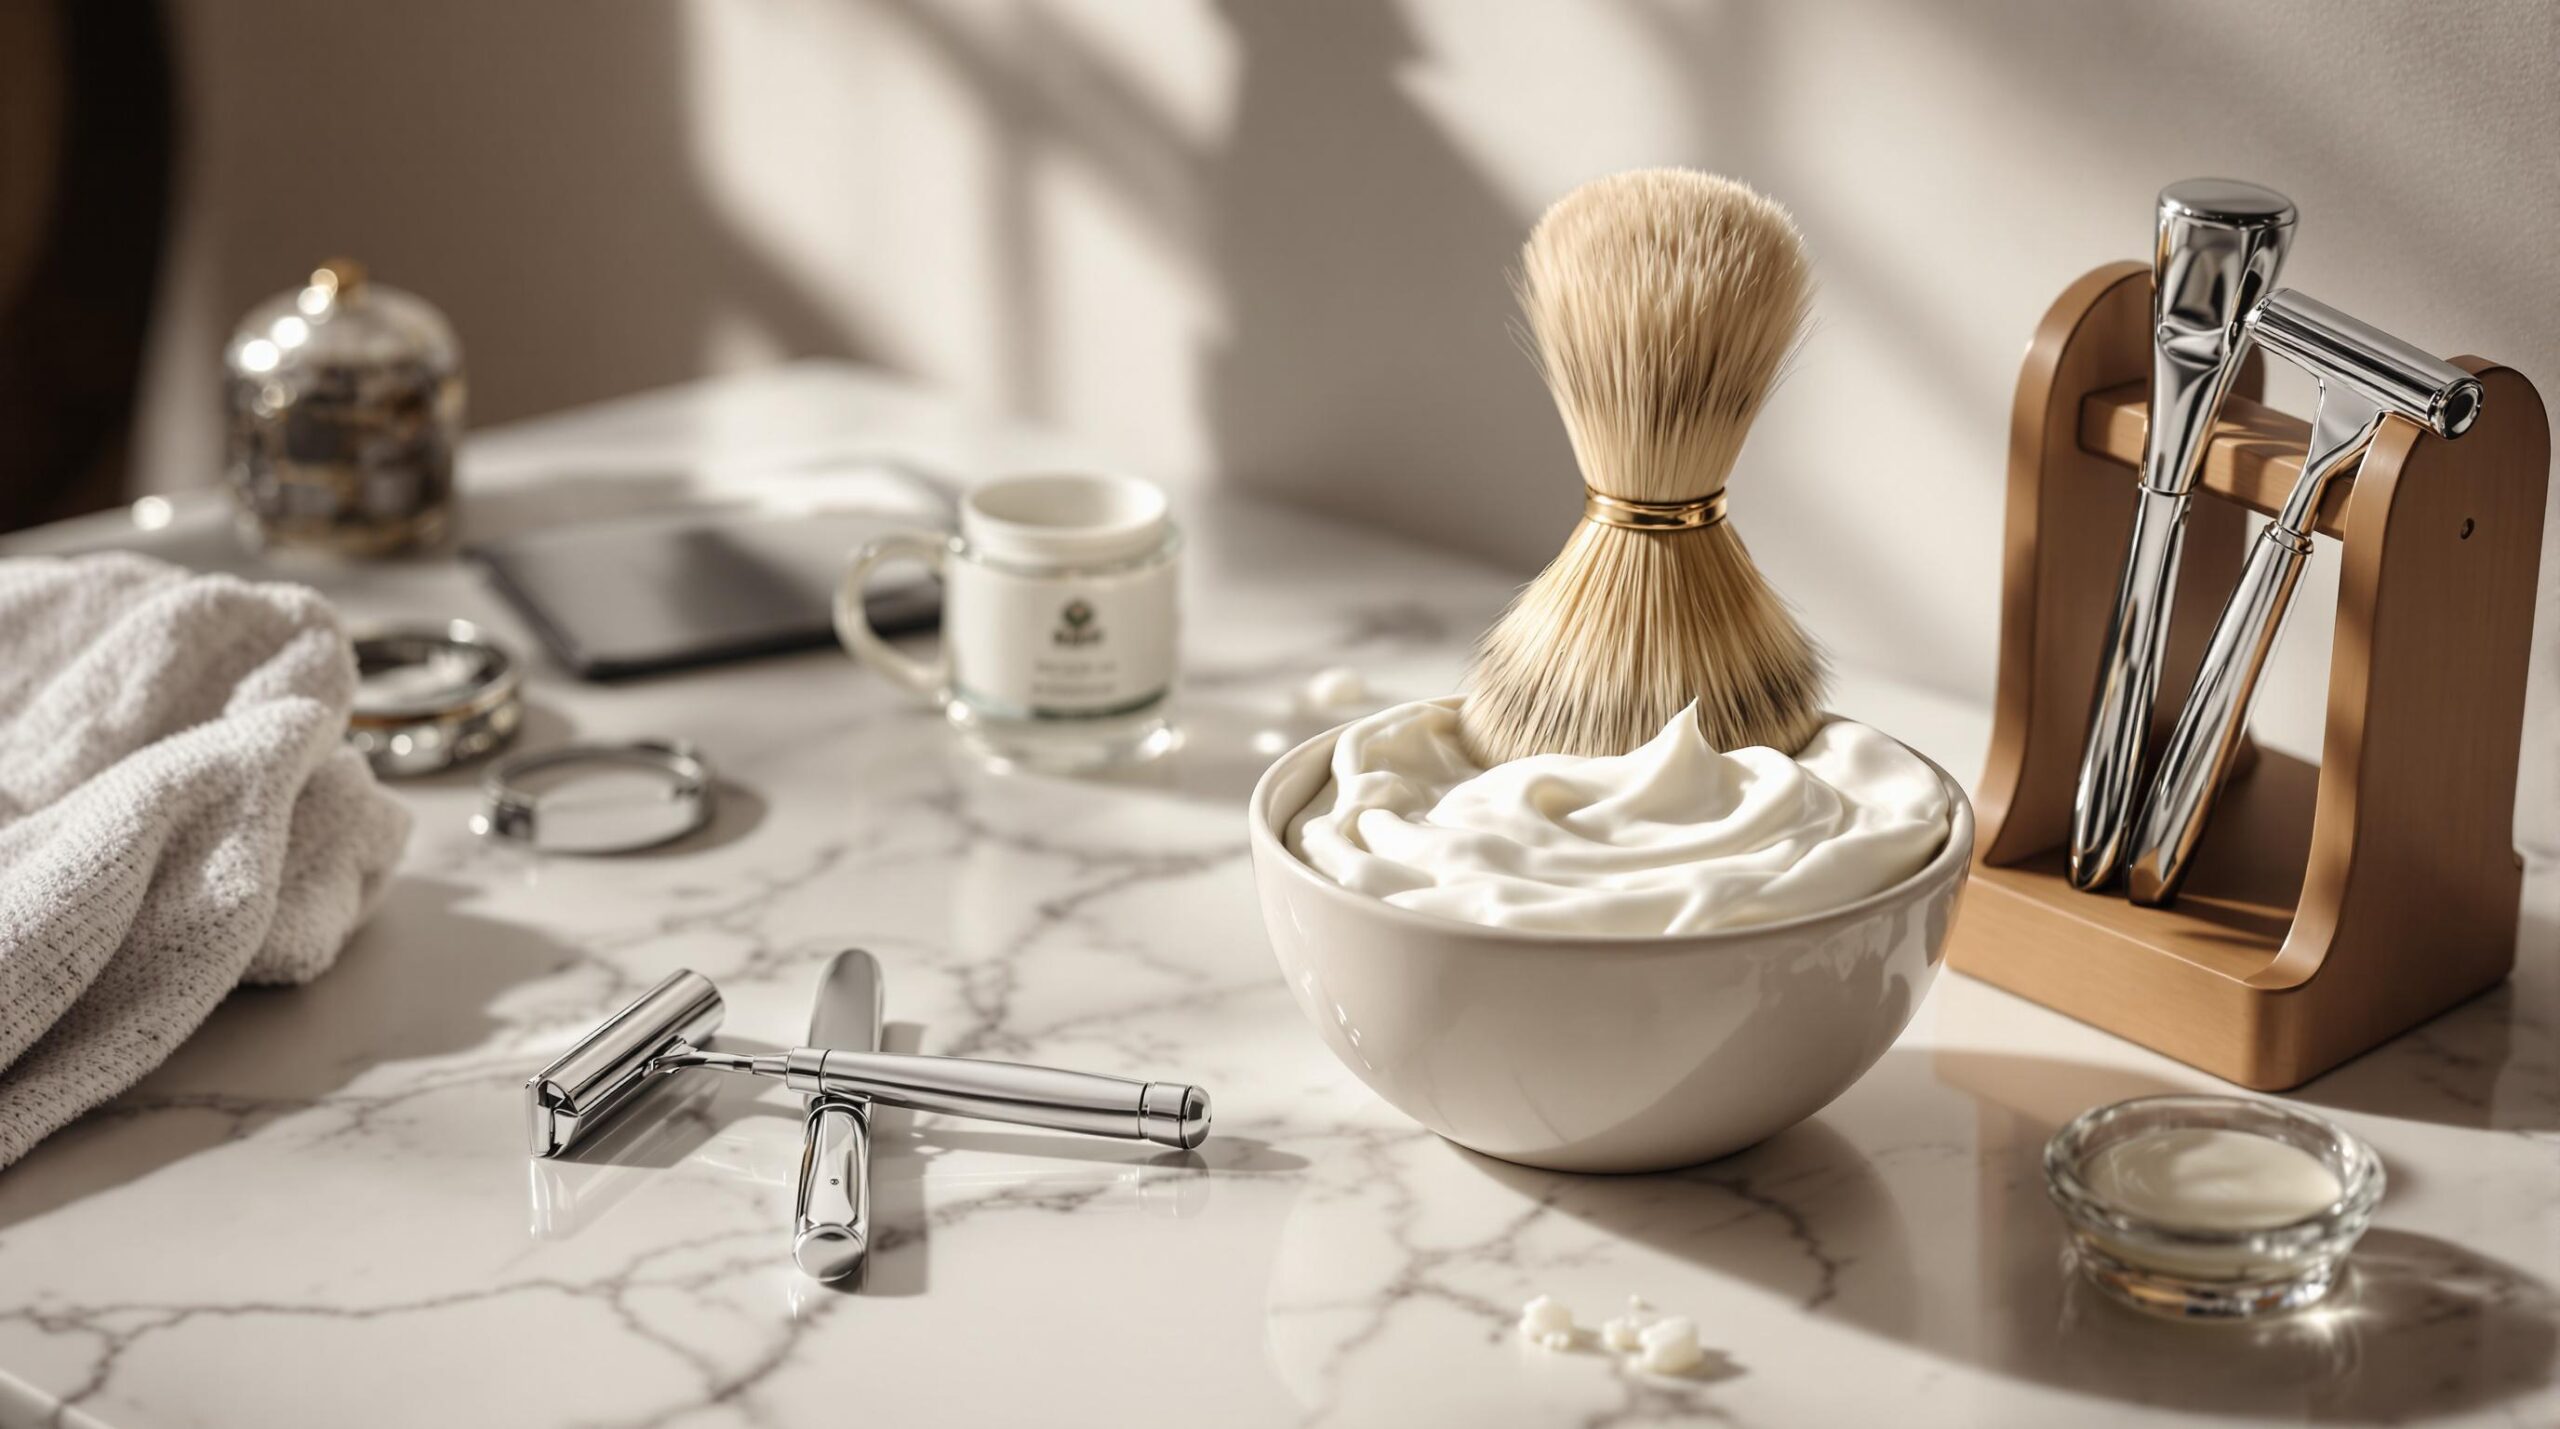
This post may contains affiliate links.
Wet shaving delivers a close, smooth shave while reducing irritation and long-term costs. It involves using warm water, shaving cream or soap, and a razor, emphasizing preparation and technique for better results. Here’s what you need to know:
- Benefits: Closer shave, less irritation, cost-efficient over time.
- Tools: Safety razors (precision, lower long-term cost) vs. cartridge razors (ease of use, higher cost). Shaving brushes (badger hair or synthetic) and quality creams/soaps are essential.
- Steps: Prep your skin with warm water and pre-shave oil, build a rich lather, shave with the grain, and follow a proper post-shave routine.
- Tips: Use sharp blades, replace them regularly, and care for your tools to prevent razor burn and extend their life.
Quick Comparison
| Feature | Safety Razors | Cartridge Razors |
|---|---|---|
| Initial Cost | Higher ($20-50) | Lower ($10-15) |
| Long-term Cost | Cheaper (blades $0.10-0.30) | More expensive ($2-5 per cartridge) |
| Learning Curve | Steeper | Easier |
| Shave Quality | Closer, less irritation | Faster, may irritate more |
Wet shaving combines tradition with effective grooming. Ready to master it? Let’s dive into the details.
How to Shave with a Safety Razor
Tools Needed for Wet Shaving
Having the right tools can make all the difference when it comes to wet shaving. Good equipment not only improves your shave but also helps avoid irritation and ensures smoother results.
Safety Razors vs. Cartridge Razors
Your choice of razor plays a big role in your shaving experience. Here’s a comparison of safety razors and cartridge razors to help you decide:
| Feature | Safety Razors | Cartridge Razors |
|---|---|---|
| Initial Cost | Higher ($20-50) | Lower ($10-15) |
| Long-term Cost | Cheaper (blades $0.10-0.30 each) | More expensive (cartridges $2-5 each) |
| Learning Curve | Steeper, requires practice | Easy to use, beginner-friendly |
| Shave Quality | Closer shave, less irritation | Faster but may irritate more |
| Blade Control | Full control over angle/pressure | Limited control, fixed head |
Safety razors offer precision and cost savings over time but require some practice. Cartridge razors, on the other hand, are simple to use but can lead to more irritation.
Choosing a Shaving Brush
A shaving brush is key for building a rich lather and prepping your facial hair. Two popular choices are:
- Badger Hair Brushes: These natural brushes hold water well and create a creamy lather. Options range from firm, budget-friendly brushes to high-end, soft-bristled ones.
- Synthetic Brushes: Durable and cruelty-free, synthetic brushes dry quickly and are a great alternative to natural brushes.
Shaving Creams, Soaps, and Pre-Shave Oils
The right shaving products reduce friction and protect your skin during the shave.
- Shaving Creams: Known for their rich, hydrating lather, these creams provide excellent protection. Premium brands often offer better moisture and glide.
- Shaving Soaps: Soaps last longer and create a dense lather. While beginners might prefer creams for their ease of use, seasoned shavers often enjoy the longevity and lubrication of soaps.
- Pre-Shave Oils: These oils help the razor glide smoothly and are especially useful for sensitive skin, reducing irritation.
Once you’ve gathered the right tools, you’re ready to prepare your skin and set the stage for a smooth wet shave.
Preparing for a Wet Shave
Getting ready the right way is key to a smooth shave without irritation.
Cleaning and Softening the Skin
Start by softening your skin and facial hair. Here are a few methods to try:
- Take a warm shower, especially if you shave in the morning.
- Press a warm, damp towel against your face for 2-3 minutes.
- Wash your face with warm water for at least 60 seconds.
Using Pre-Shave Oil
Pre-shave oil adds a protective layer between your skin and the razor. The best oil for you depends on your skin type:
| Skin Type | Best Ingredients |
|---|---|
| Sensitive | Jojoba, Chamomile |
| Normal/Combination | Castor, Olive Oil |
| Oily | Grapeseed, Argan Oil |
Rub 3-4 drops of oil into your facial hair using circular motions. This softens the hair even more and makes the razor glide smoothly.
Prepping Your Tools
- Razor: Rinse it with warm water and make sure the blade is sharp. Replace the blade after 5-7 uses.
- Brush: Soak synthetic brushes for 30 seconds or natural brushes for 1-2 minutes in warm water.
- Workspace: Set up everything you’ll need – tools, warm water, a clean towel, and post-shave products – within easy reach.
Once your tools and skin are ready, the next step is creating a rich, protective lather for a flawless shave.
sbb-itb-170ebb4
wet shaving guide
1: Building the Perfect Lather
A good lather sets the stage for a smooth shave. Start by soaking your shaving brush and using a quality shaving cream or soap. Swirl the damp brush on the soap or cream for about 15-20 seconds, then use circular motions in a bowl or your palm to whip up a creamy lather. The goal is a thick, consistent foam with small, tight bubbles. If it feels dry, add a few drops of warm water; if too runny, keep working it until it thickens. Once ready, apply the lather to your face in even strokes. This protective layer ensures a comfortable shave.
2: Shaving in the Direction of Hair Growth
Use short, gentle strokes and let the razor’s weight guide you – no extra pressure needed. Always shave in the direction your hair grows to reduce irritation. Start with the easier areas, like the sides of your face, before moving to trickier spots like the neck. Warm water helps by softening the hair and relaxing the skin, making the process smoother.
3: Rinsing and Reapplying Lather for Additional Passes
After the first shave, rinse your face with warm water and check for any missed areas. Apply a fresh layer of lather using your brush, then shave again – this time going across the grain, not against it. For stubborn spots, you might need a third pass, but avoid going over the same area too many times to prevent irritation. Multiple passes, when done right, help you achieve a closer shave without damaging your skin.
4: Post-Shave Routine
Finish by rinsing your face with cold water to close the pores. Gently pat your skin dry with a clean towel, then apply an alcohol-free aftershave balm or moisturizer. If your skin is sensitive, consider using an alum block before moisturizing – it can calm the skin and reduce the risk of infection. Wait about 30 seconds to let your skin settle before applying your aftershave product. Taking care of your skin post-shave is just as important as the shave itself, keeping your face healthy and irritation-free.
Advanced Tips and Problem Solving
Preventing Razor Burn and Ingrown Hairs
Razor burn and ingrown hairs can be frustrating, even for seasoned wet shavers. The solution starts with proper preparation and technique. Using sharp blades reduces the need for excessive pressure, which helps minimize irritation. Make sure to replace blades regularly to keep them performing at their best.
If you’re prone to ingrown hairs, try gentle exfoliation before shaving. This clears away dead skin and helps free trapped hairs. A glycerin-based pre-shave oil can also make a big difference by creating a protective layer and improving razor glide. Once you’ve nailed the basics, advanced tools can take your shaving routine to the next level.
Using Advanced Tools
Certain tools can offer extra benefits and refine your technique. For example, an alum block does more than tighten pores – it also acts as an antiseptic and highlights areas where you’ve applied too much pressure during shaving.
Straight razors are another step up, delivering exceptional control and precision. These are perfect for those who want a highly refined shave, but they do require regular upkeep, like stropping and occasional honing.
| Tool Type | Benefits | Maintenance Requirements |
|---|---|---|
| Alum Block | Tightens pores, antiseptic, technique feedback | Dry after use, store in a soap dish |
| Straight Razor | Superior control, very close shave | Regular stropping, occasional professional honing |
| Shavette | Easy maintenance, uses disposable blades | Replace blades, clean after each use |
Caring for Your Shaving Gear
Taking care of your tools is essential for their longevity and hygiene. After every use, rinse your razor thoroughly with warm water and mild soap to remove leftover cream or hair. If you’re using a safety razor, disassemble it occasionally for a deeper clean. Avoid storing razors in the shower, as constant moisture can lead to bacterial growth and rust.
For shaving brushes, especially those made with natural hair, proper cleaning is equally important. Rinse them thoroughly after use to remove all soap residue. Gently squeeze out excess water, then hang the brush bristles-down or place it in a brush stand. This prevents water from pooling in the knot, which can cause bacteria buildup and damage the handle over time.
Conclusion and Main Points
Wet Shaving Essentials
Wet shaving is a classic method that offers a closer and smoother shave compared to electric razors. The key to success lies in three main factors: choosing the right tools, preparing your skin properly, and honing your technique. A dependable safety razor and a well-kept shaving brush are the backbone of any solid wet shaving routine.
Preparation is just as important. Using warm water and a high-quality shaving cream helps reduce irritation and ensures a smooth glide. By combining these steps with good technique, wet shaving not only gives you a closer shave but can also improve your skin over time.
Once you’ve got the basics down, here are some tips to help you fine-tune your routine.
Tips for Every Shaver
No matter your experience level, proper technique makes all the difference. Let the weight of the razor do the work – pressing too hard can lead to irritation. Use short, controlled strokes, and rinse your razor often to keep it performing at its best.
If you’re new to wet shaving, focus on mastering the basics: maintain a 30-degree blade angle and apply light pressure. For those with more experience, experimenting with advanced tools and techniques can take your shave to the next level.
Perfecting your wet shave takes time and practice. Pay attention to how your skin reacts and adjust as needed. With quality tools and steady improvement in your technique, you’ll enjoy better results and a more satisfying shaving experience.
FAQs
What is the best shaving tool?
Safety razors can provide a closer shave and are more budget-friendly over time, but they require some practice. Cartridge razors, on the other hand, are easier for beginners but may lead to more skin irritation.
How do I maintain my shaving tools?
To keep your tools in good shape, always clean and dry them after each use. Prevent rust and bacteria by storing them in a dry place, away from moisture. For brushes, make sure they dry completely with the bristles pointing downward.
What’s the ideal shaving angle?
A 30-degree angle is best for shaving. It helps the blade cut efficiently while reducing the chances of nicks and irritation.
How can I prevent razor burn?
Start by softening your facial hair with warm water. Use a pre-shave oil to protect your skin, and shave with the grain using light pressure. Keep your blades sharp and clean, and replace them regularly to avoid irritation.
How often should I replace my razor blade?
Replace your blade after 3-7 shaves, depending on the type of razor. Safety razor blades usually need replacing every 3-5 shaves, while cartridge razors can last 5-7 shaves.
What if my lather isn’t right?
For a dry lather, slowly add water while mixing. If it’s too wet, keep working it with your brush until it thickens. A good lather should hold its shape and help the razor glide smoothly.
“A wet shave can also reduce your risk of razor bumps and ingrown hairs – these are a lot more likely when you’re taking your razor across a surface that isn’t totally smooth.” – Gillette UK Blog
These tips build on the techniques shared earlier, helping you perfect your wet shaving routine for better results.